Native Salesforce Connector
You can synchronize HekaDoc with Salesforce or Salesforce with HekaDoc through the integration:

hekadoc™
Last Update 5 years ago
To access the integration tab for Salesforce, go to: Contacts > Salesforce Connector
Note: Salesforce is an Add-on that must be installed or part of your plan.
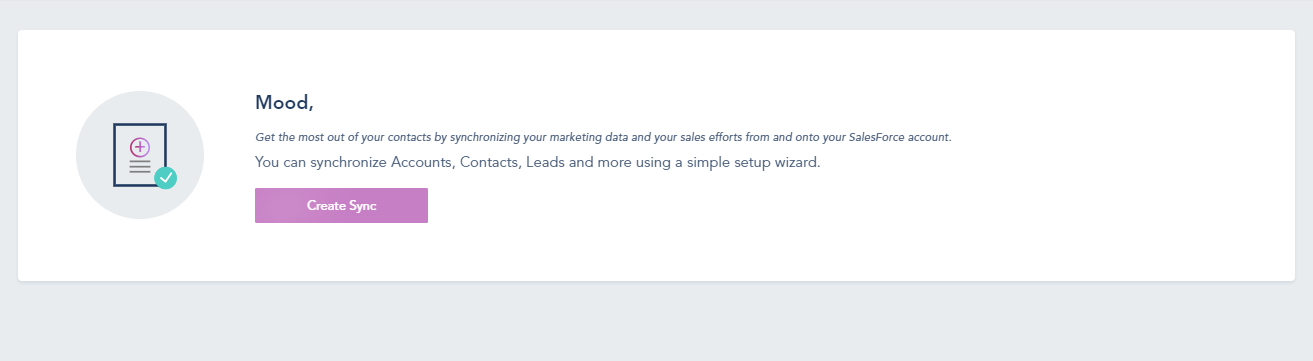
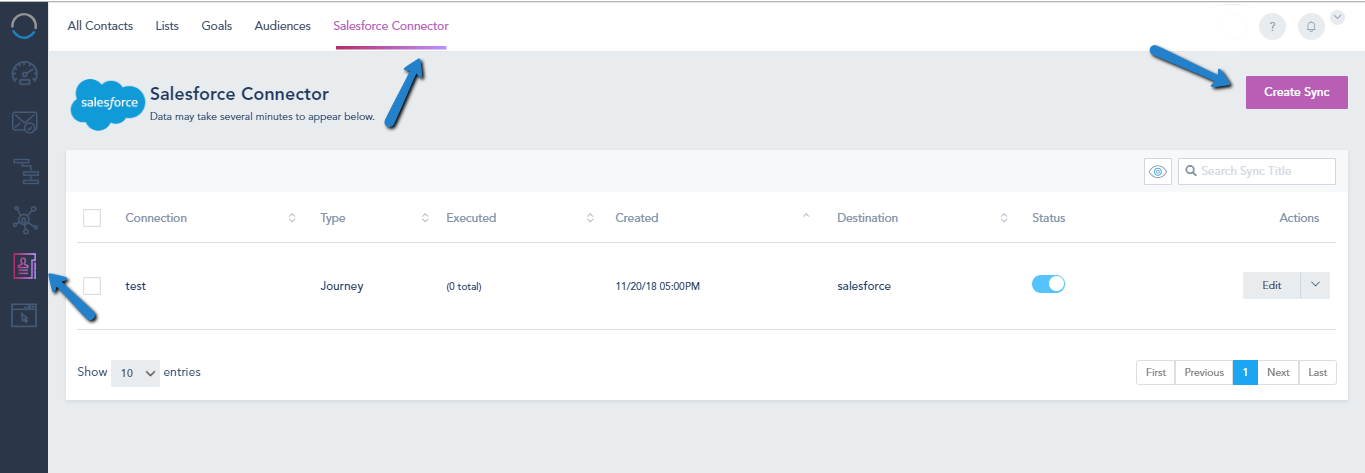
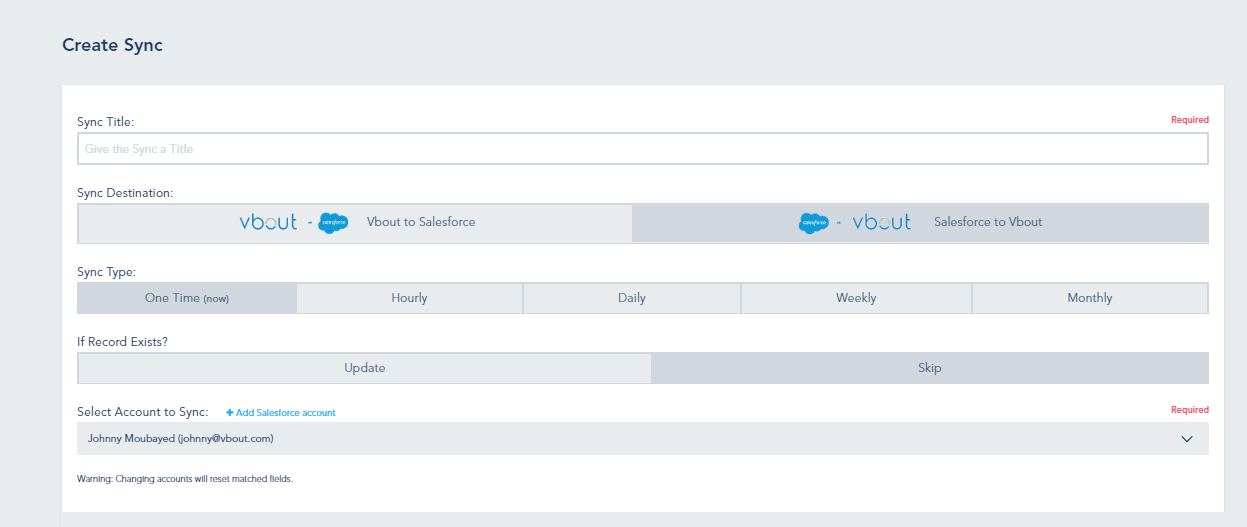
After going to Salesforce Connector, click Create Sync
The sync is bi-directional and can be customized as a one-time, recurrent or part of an Automated Journey at the contact level:

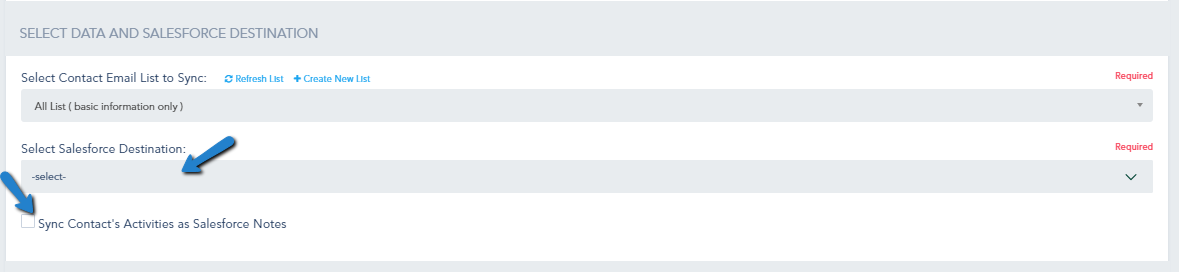
Afterward, Select Contact Email List to Sync and Salesforce Destination; you can choose to Sync contact’s activities as Salesforce Notes by clicking the checkbox:
Once these are chosen, you will specify the data destination as follows:
NOTE: If the contact is unsubscribed on HekaDoc and you update that contact again from SF to Hekadoc with the settings “Set status to active”, the system will ignore them completely and keep them unsubscribed.
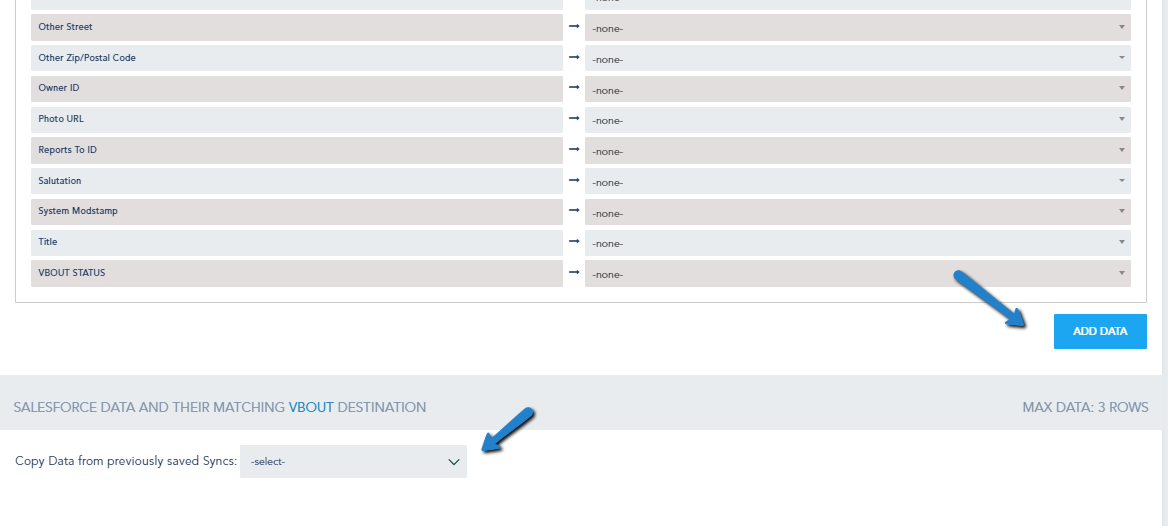
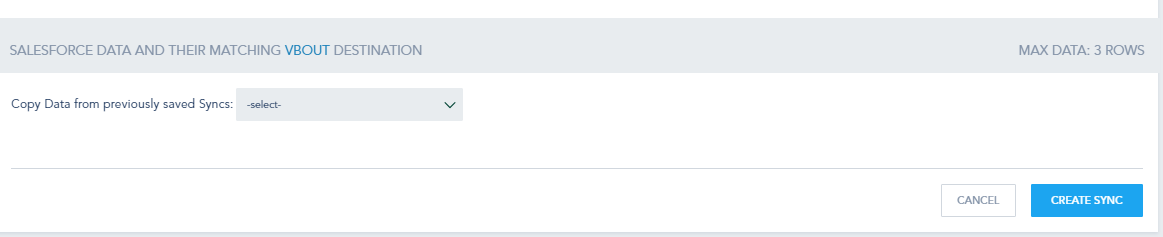
Click on Add Data when you finish. You can choose to Copy Data from previously saved Syncs.
Once you finish, you will see the following:
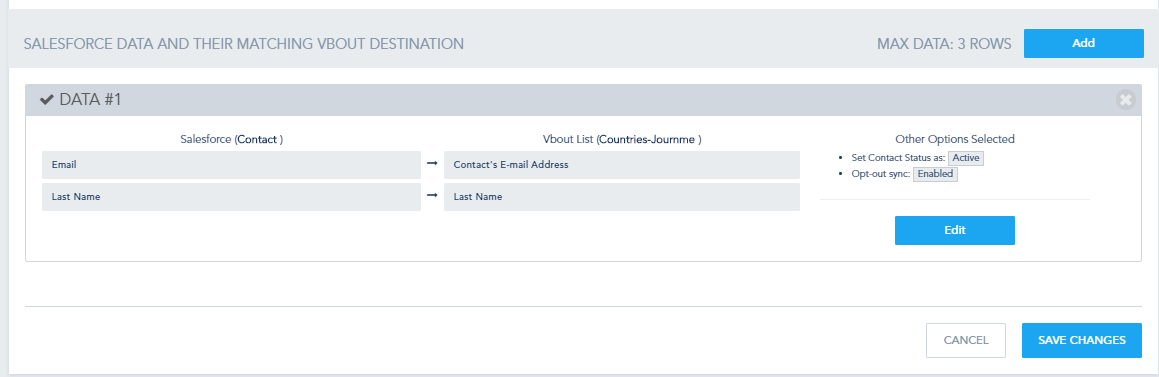
You can Edit the Data based on what you want to change simply by clicking on the Edit button, it will take you to the previous step.
Once all is set, click Save Changes.
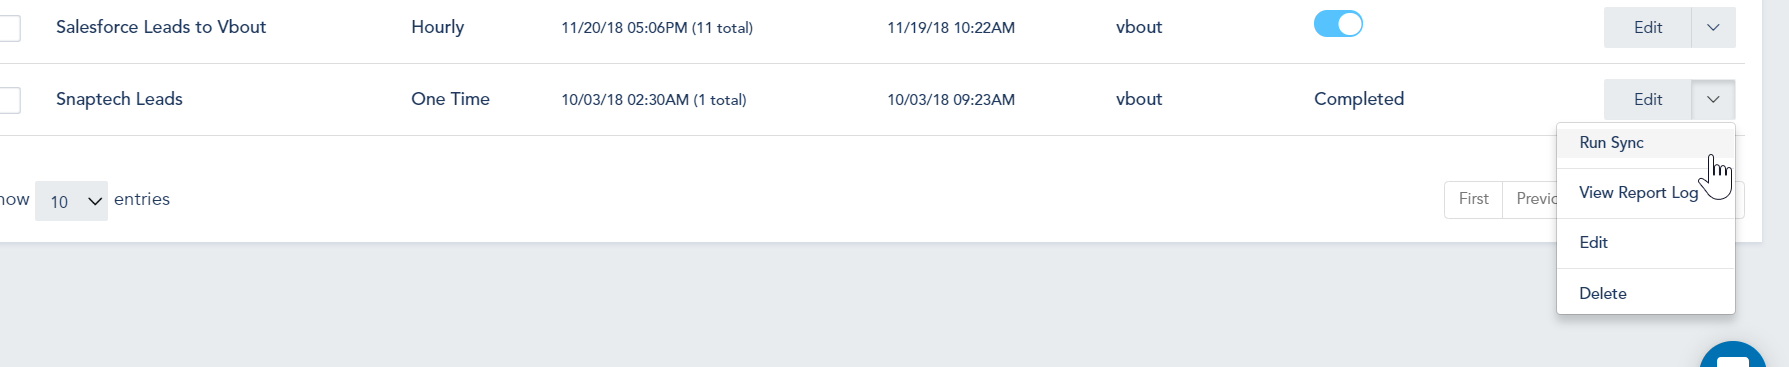
You can re-sync an existing one time sync, with an option to Pause, Resume.
If you choose the other way around (From Salesforce to HekaDoc):
Note: Synching a lead from SF to HekaDoc will be unique one time unless the email on HekaDoc was set to NOT REQUIRED
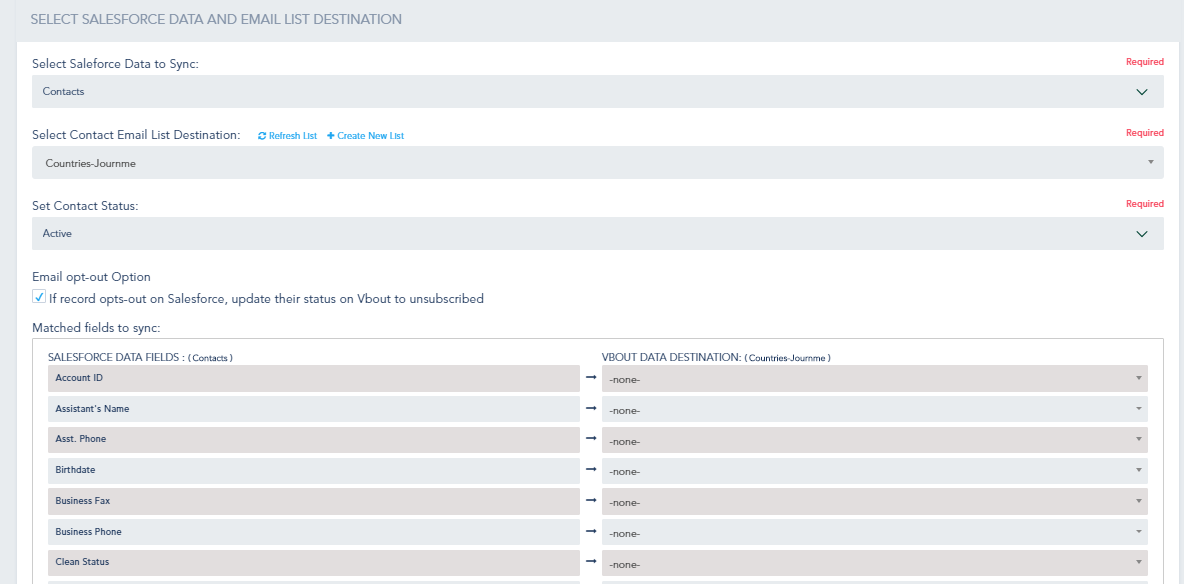
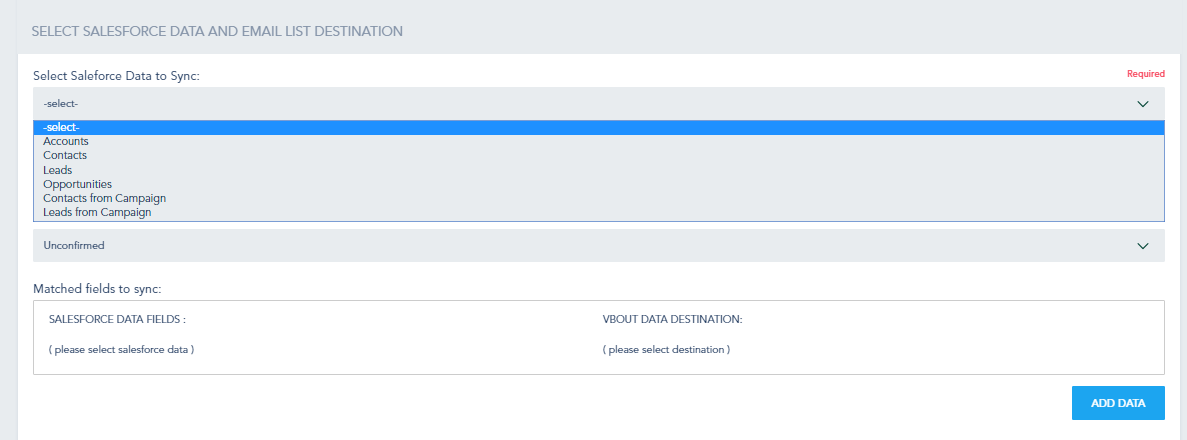
First, you select which Data to Sync:
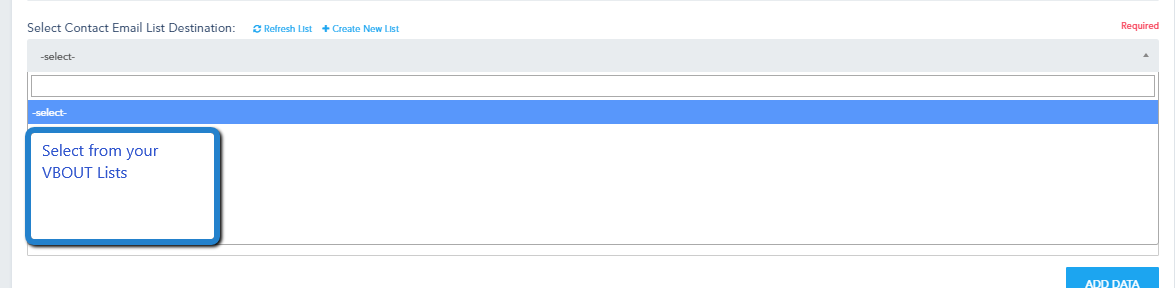
Then, you Select Contact Email List Destination:
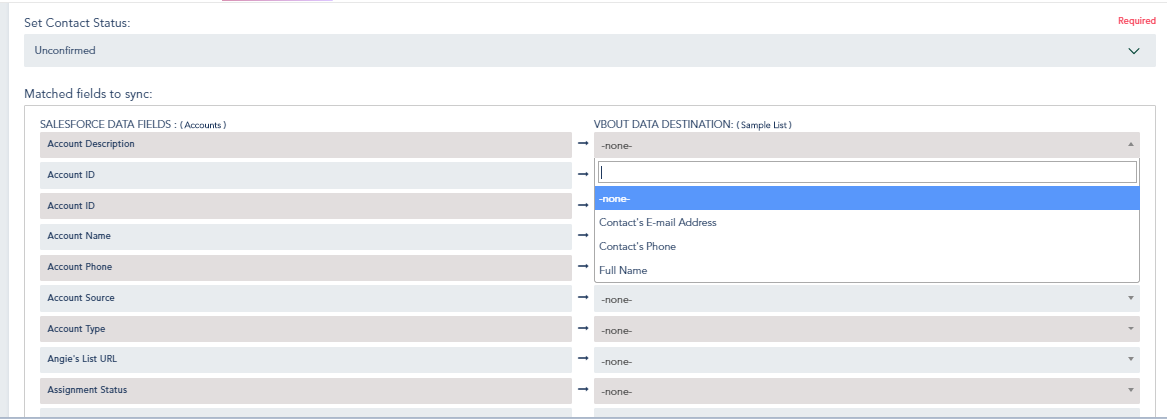
Afterward, you Set Contact Status:
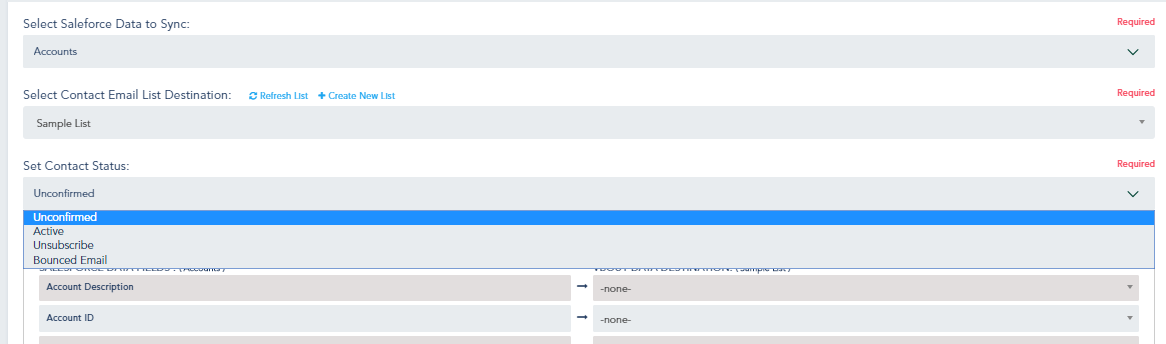
Once you finish these steps, you get to choose the hekadoc Data Destination for each Salesforce Data Fields:
Finally, you click Create Sync:
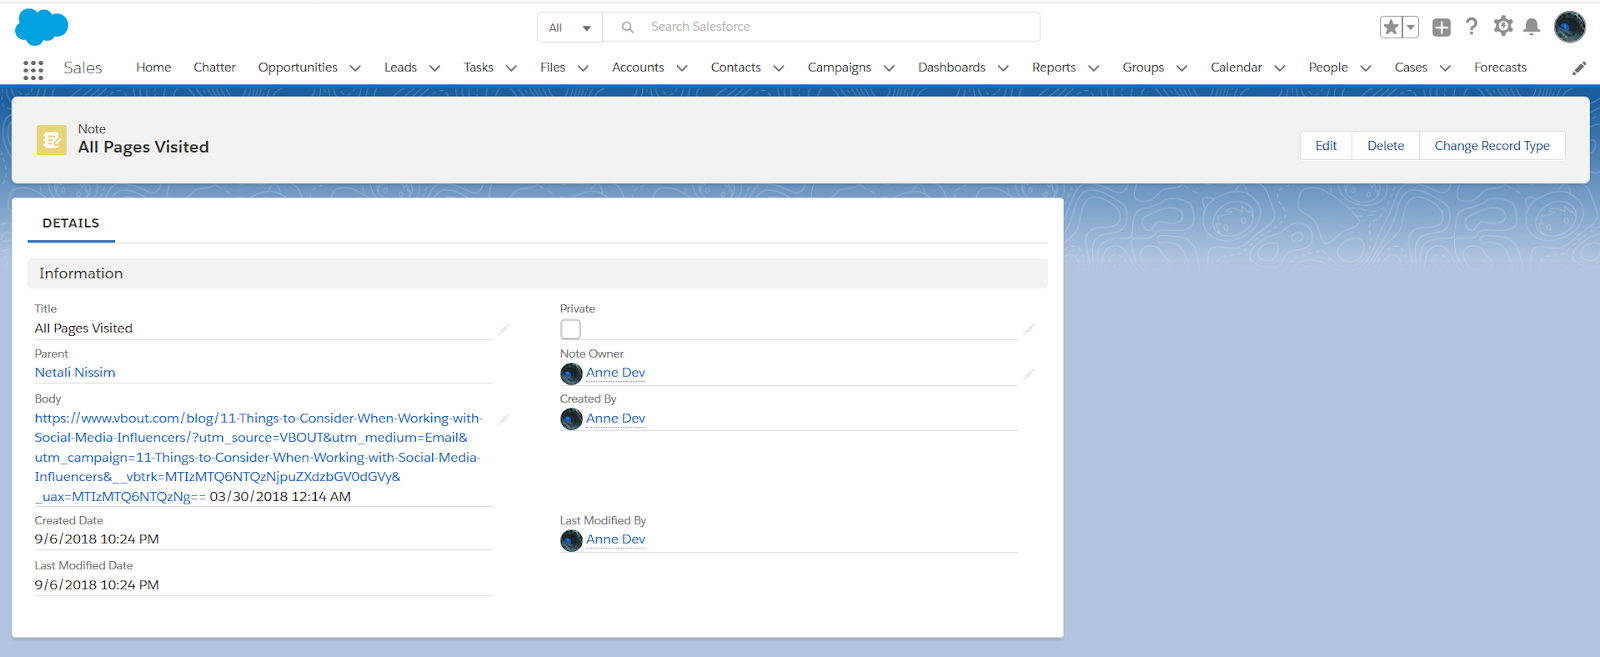
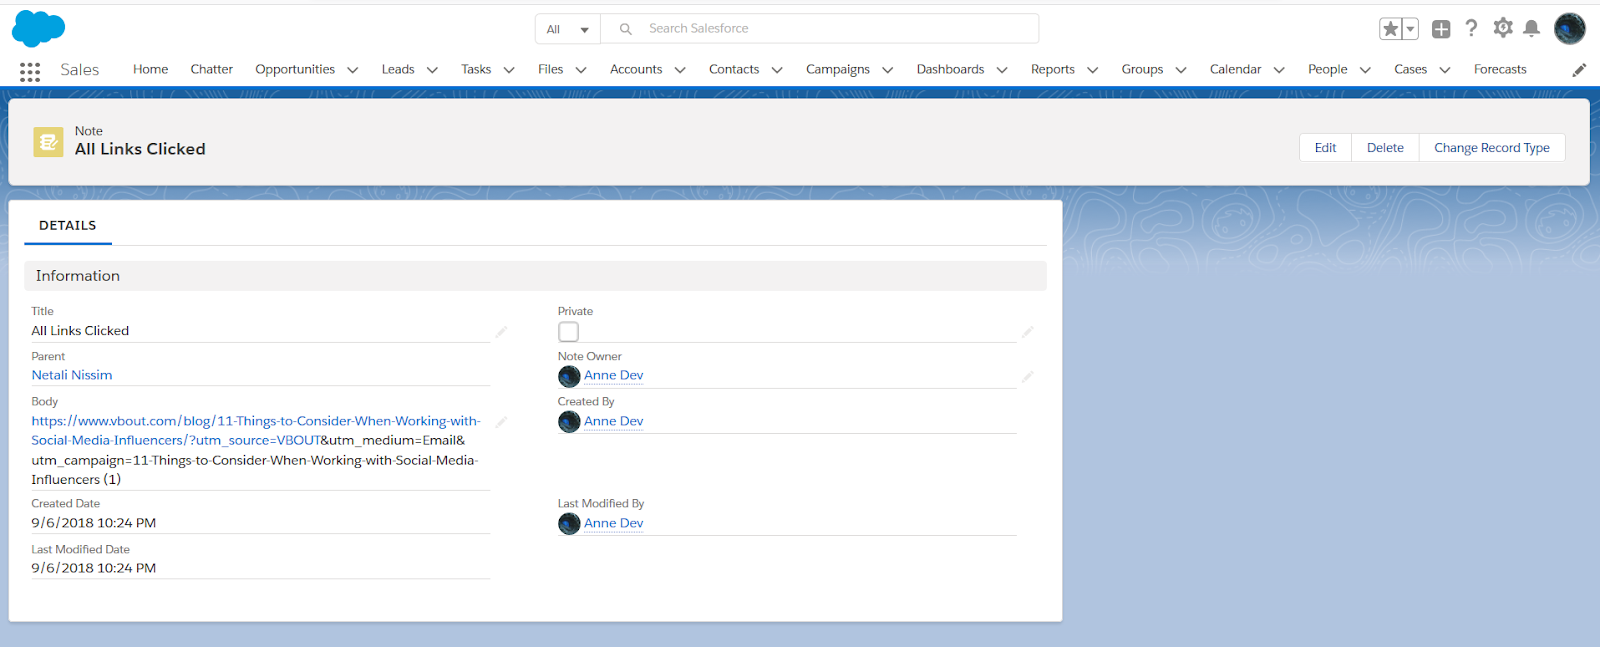
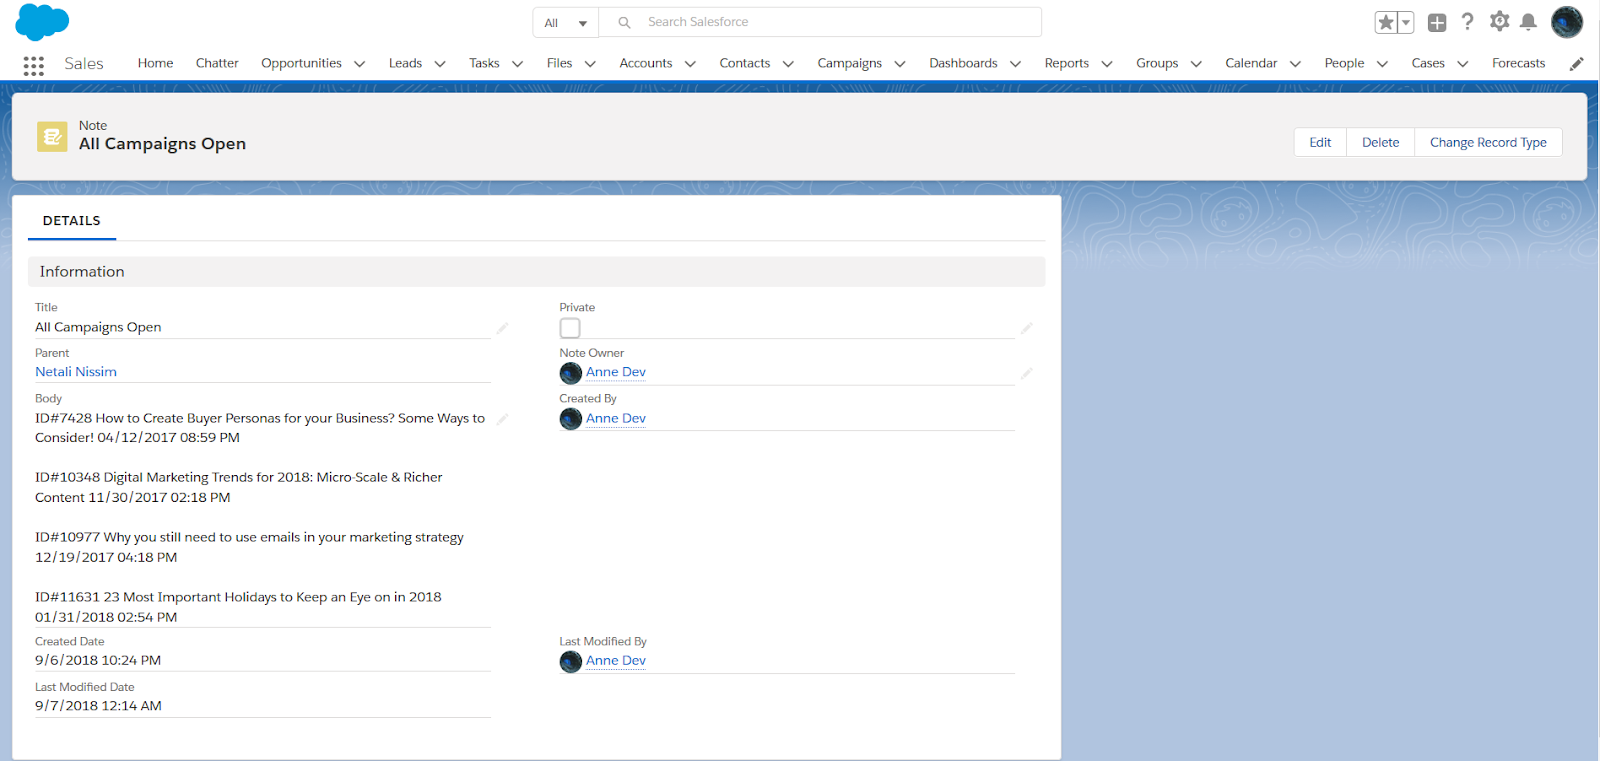
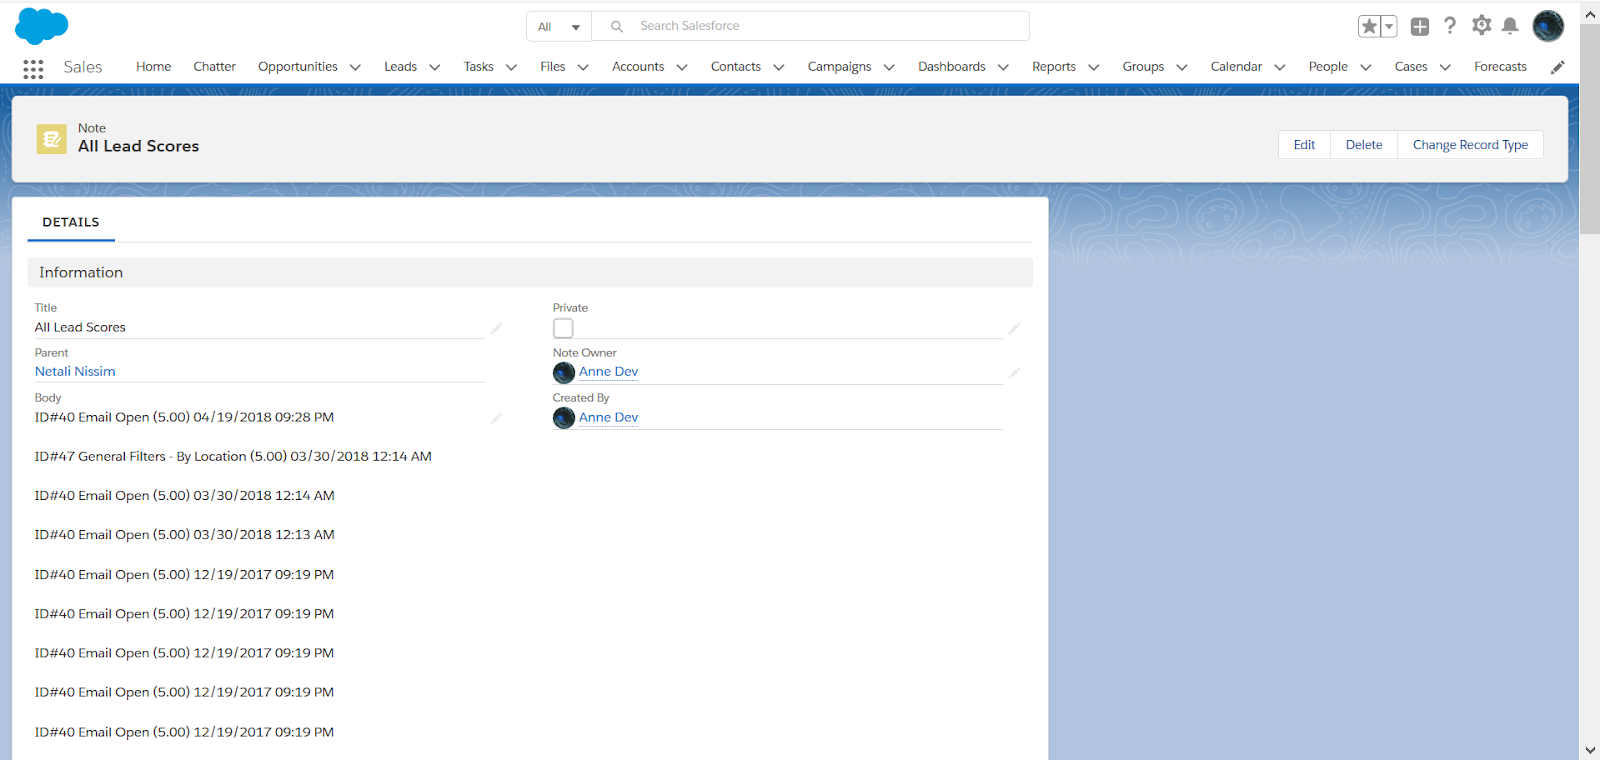
Here are some examples of how data will look like on Salesforce
Pages Visited:
Links Clicked:
Campaign Open:
Lead Score:
Lead Status:
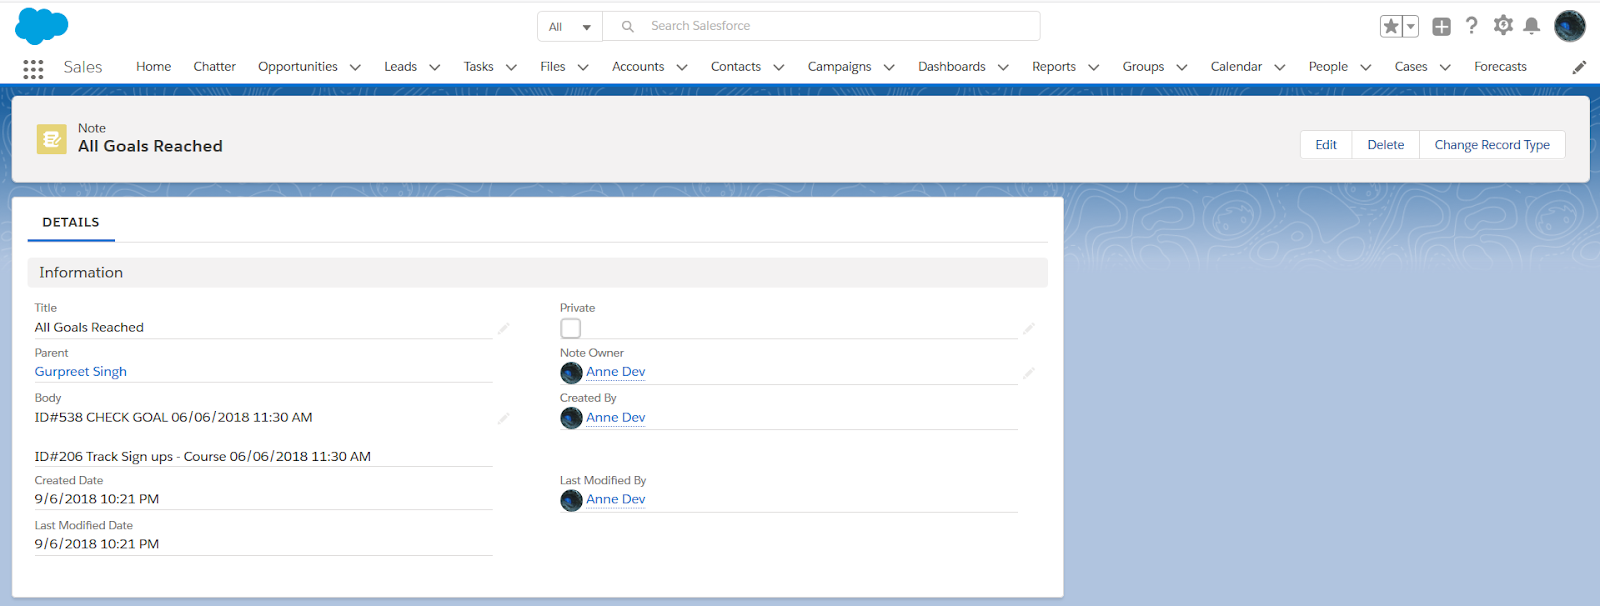
Goals Reached:
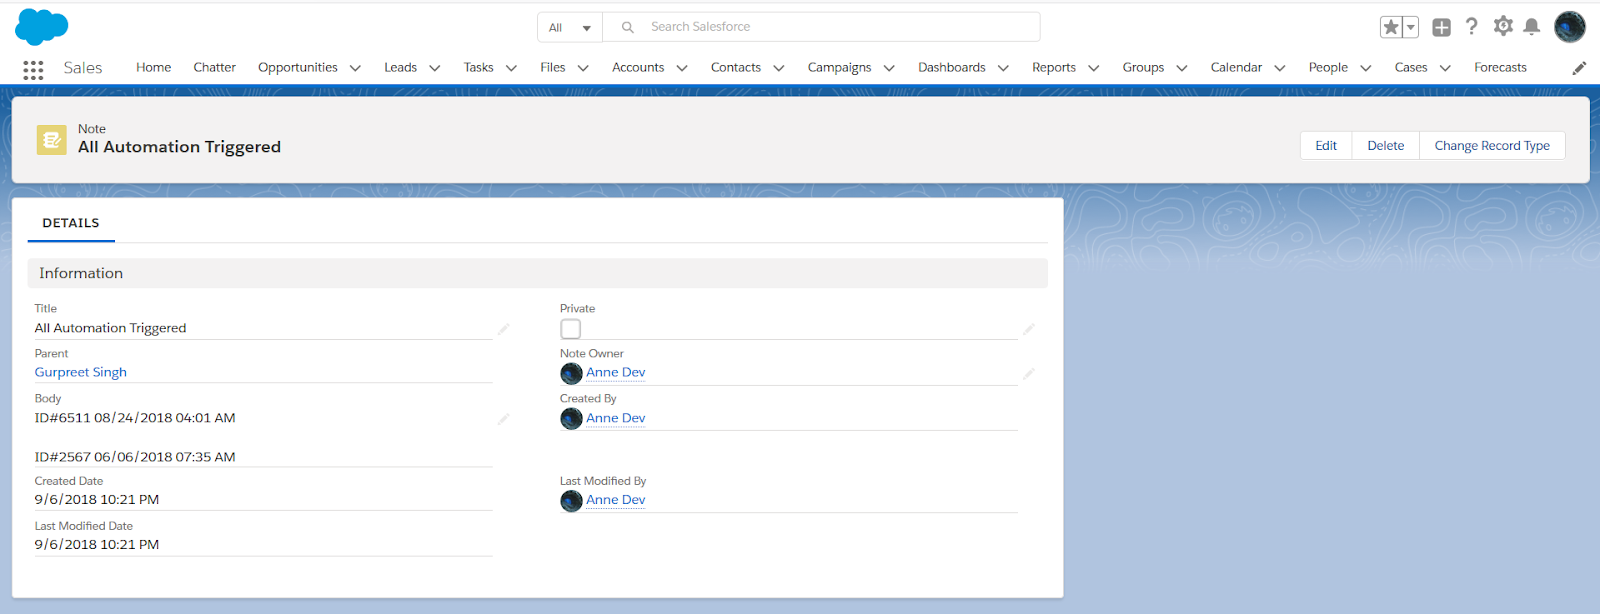
Automation Triggered: